I wanted to do something better. Before I headed back home to South Dakota for my 10 week internship, I kicked around the idea of making something a little better with my father who is by no stretch of the imagination an amateur woodworker. After hours discussing the details, we made plans to begin when I arrived.
There were multiple specifications this drawer had to follow. First, it needed to match my decor. Everything my wife and I decorate with is neutral colored accented by black. Black seemed to be the ideal choice as it would fit into nearly any living situation I would be in. Second, it needed to hold more playing cards than the 300 I currently have. Third, it needed to be strong, high quality, and protect my cards from sagging drawers, moisture, heat, and devilish little kid hands. Fourth, it needed to ooze magic, illusion, and trickery. Lastly, I wanted a part of my soul in this. It needed to be something amazing and strong enough to become a family heirloom.
This is what came of these goals. Playing cards added for scale.

Yes, it is a beast. It turned out to be FAR larger than I would have guessed, even after many size reductions. The visible parts of the cabinet are oak finished with ebony stain. Not your typical finish, but it matches several other hand crafted items I own from my father. It looks black at first glance, but when you get this in the right light and up close, you can see the wood grain in it is extremely dark brown.
I will no go into all the secrets and tricks that weeks worth of work allowed for, but I will indulge you in the basic operation of the actual playing card storage. There are other tricks and secrets that this cabinet holds, but those are for those of who who get a chance to see this first hand and can find them.
To begin, the front door.

Try to open it. I dare you. It will not. The front door is false. There will eventually be a skeleton key hole as well, but that will be saved until I can find one with a matching finish to the door pull. This front door is prominently displayed and looks just like a front door until you inspect the unit very closely. If I can ever find the same finish on a set of hinges, they too will be added to complete the look, but will nevertheless not chance the lack of function of the front door.
In order to open this case, you have to know a considerable amount about how it works. You all will know enough from this blog post.
The top.

The rock solid feeling oak top to this cabinet is hinged. You will never see the hinge without a good view of the back of the cabinet, or a view with it open. Inside a hinged brass arm keeps the lid open at 90 degrees. The blue felt lining creates a bold contrast (better looking in person even.) There are two coin trays as well to throw my small odds and ends into. That is it. No other indication of how to open the main body of the unit.
The Hinge

While the hinged arm is straight and locked, the box does not open. At all. Ever. You cannot do it. I can't even explain why until I show you a few more things. Keep in mind, however, that the hinge must be in the position shown in the picture below.

Once the hinge is positioned near to this angle, there is nothing to find. Unless you are a curious devil. Prying hands may net you the reward of this discovery.

The Door.
Once the tray has been removed, and you re-lock the hinge so the lid does not remove your fingers in one vengeful slice, nothing seems to have changed. The only difference is the tiny movement of the right wall panel that you did not see while preoccupied pulling the tray out.

You found it. What is "it," exactly?

The only way in. From the side.

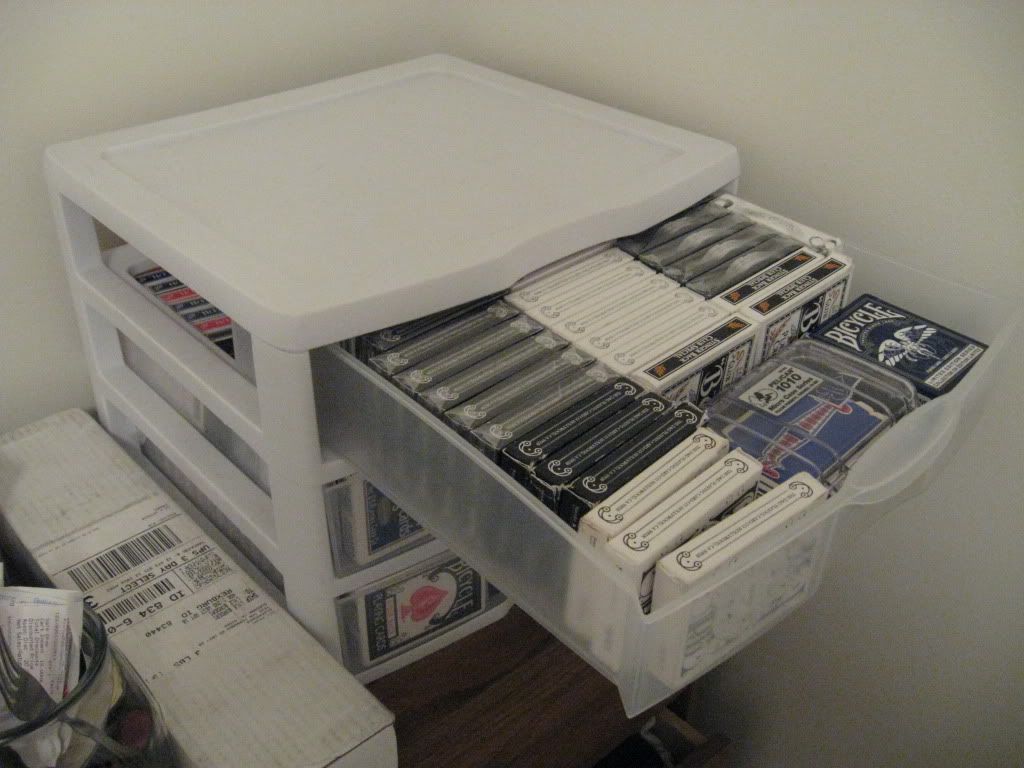
And there they are. The four drawers containing much of the value of my magic collection, mostly tied up in pasteboard goodness.

One more time, from the front. This time, opened up so you can appreciate the scale of it all.

There you have it. One of many secrets this cabinet hides. The main purpose it was built for. A small part of my soul. A lot of work went into it, and it will be a talking point of my home from this day forward. (No, that is not my place in the background, it is my folk's, where something like this would stand out more than anyone would care to see.)
I hope you enjoyed this little trip. If you ever are out my direction, wherever it may be, swing by and I will show you first hand. If anyone decided to make something like this on their own, I am always available to answer questions. If you want me to make you one, don't bother asking, as the amount of time that went in to this project would drive my asking price well into the several thousand dollar range. I am not equipped to replicate this on any sort of a mass scale. Or at all.
Enjoy.
L
Super awesome! :D
ReplyDeleteChit
Um, Dad is amazing.
ReplyDeleteAnd I guess you are, too.
AND I started following you, so you have to follow my blog now, capiche?
absolutely amazing
ReplyDelete